About Me

- Cookiez Kreationz
- PSP is my world, need I say more :) If you would like to reach me regarding my tutorials and other things then I will be glad to answer them, but please no spam emails thank you. E-mail me at cookiezkreationz@yahoo.com. I wanna thank Nikki from Killer Kitty Scraps for making my really cute blog layout, thank you hun!
Powered by Blogger.
Followers
Live Feeds
Wednesday, May 22, 2013
PTU: Little Monsters
Labels:
ct,
Designer Scraps,
FTU,
ptu
|
0
comments
Monday, May 20, 2013
PTU: Stars and Stripes Forever Tutorial
Artist By:
Pin Up Toons
Millie psp
madness [Template 257 ] found HERE
Enjoy my tutorial :)
You must have working knowledge of Corel Paint Shop Pro X2 or newer
Open your template, make sure you re-size it to 650x650.
Open the gemini_s&sforever_p9 , C/P into the last layer of the template.
Head to your layers tab-->Load/Save Mask-->Load Mask from Disc
From there there choose any mask you want or choose the one i used with a circular starry pattern.
And Click Load
Now you want to Merge group
Using your mouse, mouse over your layer where you had paste your paper at, and right click on your mouse
Next it will pop another option for you, you want to look for "Merge"--> "merge group".
Tada you have a masked layer.
Next, choose any papers you like, C/P them each over the shapes of your template.
This next step will help you see what I had done to cut the papers out to the shapes of the template, if you need it. If not then you can skip this part :)
Open gemini_s&sforever_p5, Copy and paste it over one of the rectangles of the template, next you will want to grab your magic wand tool, click on the rectangle of the template, press Ctrl+Shift+I on your keyboard, this will
allow you to invert. Next click the gemini_s&sforever_p5 paper, and hit your delete key once.
*Do these same steps for all the shapes of the template.
Now you should have perfectly cut shapes, layered with your favorite papers.
Delete the word art already included into the template because we are going to use gemini_s&sforever_s&sforever2 to replace it. Make sure to re-size that word art to 60%.
Next open gemini_s&sforever_mesh,
re-size to 80%, add your drop shadow, and C/P it on top of your masked layer.
Next open gemini_s&sforever_flowerscatter, add drop shadow, and C/P right behind your largest rectangle, [see my signature for example].
Now right here where you have your largest rectangle of the template C/P your close up tube there, [see my signature for example]. Using the same steps I instructed to you about cutting papers over your shapes of the template, you apply the same steps here to with your tube, instead of papers.
Open gemini_s&sforever_frame3, C/P over your close up tube. Using your move-tool adjust the size of the frame to fit the size of the rectangle, and add drop shadow.
Next open gemini_s&sforever_doublebow andgemini_s&sforever_foldedribbon1 , re-size to 60%, and C/P between the two smaller circles of the template [[see my signature for example]].
Next open gemini_s&sforever_binderclip,
re-size to 80%, add drop shadow, and C/P on the oppisite side of the two
smaller circles.
Open gemini_s&sforever_flower3, gemini_s&sforever_flower5, gemini_s&sforever_flower6, gemini_s&sforever_flower7 , re-size it to 35- 40%, add drop shadow, and C/P these flowers under the frame, arranging them neatly across [[see my signature for example]].
Open gemini_s&sforever_flower1, re-size to 15%, add your drop shadow, and C/P in between your floral arrangement.
Open gemini_s&sforever_curledribbon and gemini_s&sforever_crimpedribbon, rotate the ribbons to 90 degrees, re-size to 45-75%, add drop shadow, C/P between your floral arrangement [see my signature for example].
Open gemini_s&sforever_goldstarscatter, re-size to 85%, add drop shadow, C/P over the two smaller circles, [[see my signature for example]].
Open gemini_s&sforever_rope re-size it to 40%, add drop shadow, C/P between your floral arrangement [see my signature for example].
Now after
you have finished your floral arrangement,
its time to find a pin up tube to add preferably a tube that’s wearing stars
and stripes. Apply your drop shadow, and
place your tube next to your largest rectangle.
Now Add your copyrights of your tube and your license.
Add your name.
And your done.
Labels:
©Pinuptoons,
ct,
TPP,
tutorial
|
0
comments
Friday, May 10, 2013
PTU: Mums Purple Passion Tutorial
You must have working knowledge of Corel Paint Shop Pro X2 or newer
Open a new canvas, make sure you size it to 650x650.
Open the paper folder, KSMPPPaper 7, C/P into the new canvas.
Head to your layers tab-->Load/Save Mask-->Load Mask from Disc
From there there choose any mask you want or choose the one i used with a circular pattern.
And Click Load
Now you want to Merge group
Using your mouse, mouse over your layer where you had paste your paper at, and right click on your mouse
Next it will pop another option for you,
you want to look for "Merge"--> "merge group".
Tada you have a masked layer.
Next open KSMPPMetal Frame 1, re-size to 75%, and C/P it in the center of the canvas. Using your move tool rotate it slightly to the right. Duplicate your frame again, and move it slightly to the left.
Next open KSMPPRealistic Bloom 1, KSMPPRealistic Bloom 2, KSMPPRealistic Bloom 3, KSMPPString 1, and KSMPPLove Badge 1 re-size it 50%, add drop shadow, and C/P all around under and on top of the frame, [see my signature for example].
Open KSMPPSweet Cake Sucker 2, and KSMPPSweet Cake Sucker 4, re-size it to 80%, add drop shadow, and C/P it behind the flowers.
Open KSMPPCute Tied Heart 1, KSMPPKnotted Stitching 2, KSMPPPainted Flower 1, KSMPPPaper Heart 1, and KSMPPVelvet Rose 1, re-size it to 30%, add drop shadow, and C/P it over your flower arrangement [[see my signature for example]].
Now, go back to where you had paste the frames, here is where your going to insert your close up tube, copy your tubes, and paste them behind the frames, next you will want to grab your magic wand tool, click on one of the frames, press Ctrl+Shift+I on your keyboard, this will allow you to invert. Next with your mouse, click the layer where you had paste your close up tube at, and hit your delete key once.
Now that have you cut out all your tubes into your frames, you can apply a porcelain effect, to give it a halo look. [see my signature for example].
Now apply the drop shadow to the frames.
Now Add your copyrights of your tube and your license.
Add your name.
And your done.
Labels:
©Ismael Rac,
ct,
Krissy's Scraps,
ptu,
tutorial
|
0
comments
Thursday, May 9, 2013
PTU: Deadly Intentions Tutorial
Here's my tutorial for you, have fun.
You must have working knowledge of Corel Paint Shop Pro X2
or newer
Open new canvas and size it to 650x650.
Open the WP_DD_PAPERS, WP_DD_PP5 , C/P into canvas.
Head to your layers tab-->Load/Save Mask-->Load Mask
from Disc
From there there choose any mask you want or choose the one
i used with a circular pattern.
And Click Load
Now you want to Merge group
Using your mouse, mouse over your layer where you had paste
your paper at, and right click on your mouse
Next it will pop another option for you,
you want to look for "Merge"--> "merge
group".
Tada you have a masked layer.
Open WP_DD_FRAME5, re-size to 50%, C/P it the right of the
canvas, duplicate it and mirror the frame.
Next open WP_DD_FRAME15, re-size it 75%, C/P between
WP_DD_FRAME5, [see my signature for example].
Open WP_DD_FLOWER1, WP_DD_FLOWER2, WP_DD_FLOWER3,
WP_DD_FLOWER6, WP_DD_FLOWER15, re-size it to 30%, add drop shadow, and C/P all
around over the bottom of the frames, [see my signature for example].
Open WP_DD_BOOK2, re-size it to 40%, add drop shadow, and
C/P it in front of the bunch of flowers you had laid out.
Next WP_DD_VOODOODOLL, re-size to 35%, and C/P in the center
but in front of the flowers. Using you
move tool lay the doll down on the flowers.
Next open WP_DD_FLOWER4, and
WP_DD_FLOWER10, re-size to 30%, C/P in front of WP_DD_VOODOODOLL, [see
my signature for example].
Here is where your going to insert your close up tube, copy
your tubes, and paste them behind the frames, next you will want to grab your
magic wand tool, click on one of the frames, press Ctrl+Shift+I on your
keyboard, this will allow you to invert.
Next with your mouse, click the layer where you had paste your close up
tube at, and hit your delete key once.
Now that have you cut out all your tubes into your frames,
you can apply a radiance effect, to give it a sleek look. [see my signature for example].
Don't forget to add drop shadow to your frames at this
point.
Open WP_DD_BANNER1 re-size it to 75%, add drop shadow, copy
and paste over the flowers and voodoo doll and books, because this will be your
place to write your saying, or your name. [see my signature for example].
Now Add your copyrights of your tube and your license.
Add your name.
And your done.
Labels:
©Keith Garvey,
ct,
Designer Scraps,
ptu,
tags,
tutorial,
Wicked Princess Scraps
|
0
comments
Monday, May 6, 2013
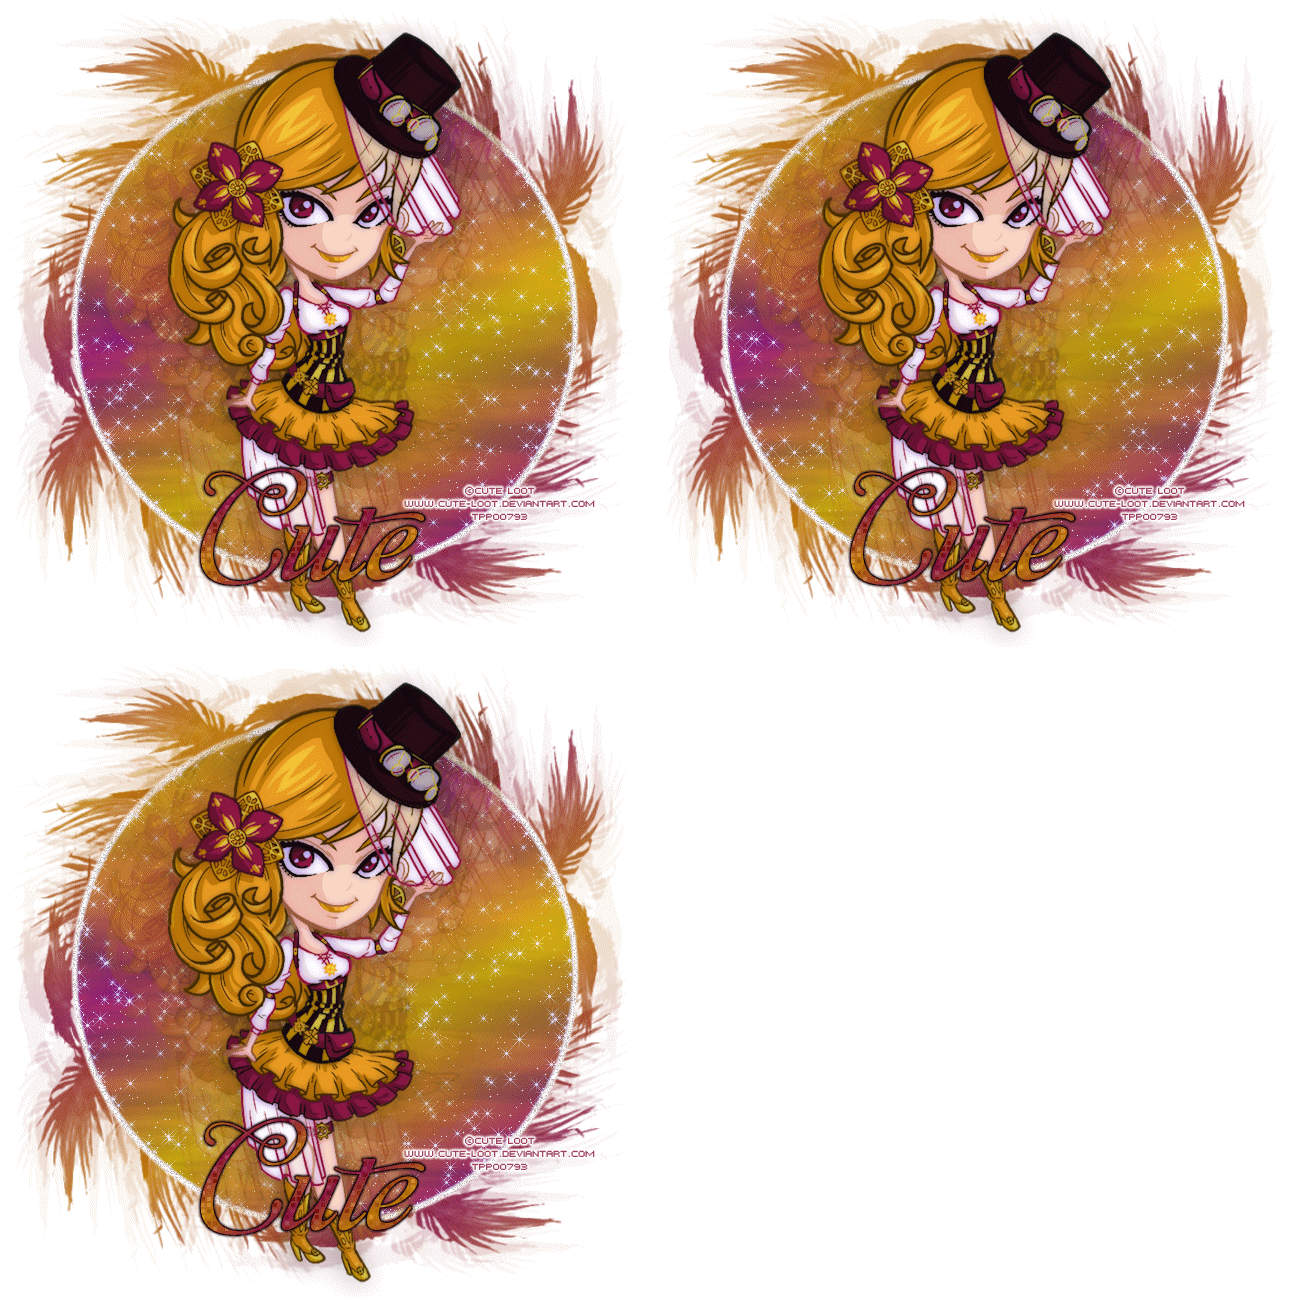
Cute-Loot : Steampunk plus Snags
Mask by: weescotslass creations [[mask 59]]
All I ask is please Do Not alter these tags in any way, that includes adding names to them.
Thanks and enjoy!
Labels:
©Cute Loot,
ct,
Snags,
TPP
|
0
comments
Wednesday, May 1, 2013
PTU: Steampunk Cluster Freebie
I have made for you a Cluster frame from Irish Princess kit "Steampunk girl"
Click preview to Download
Labels:
©Zindy,
Clusters,
ct,
Irish Princess Designs
|
0
comments
Subscribe to:
Posts (Atom)
Pageviews
Popular Posts
-
Wanted to share a few masks I made, hope you ladies like em :) Click HERE to download Happy tagging!
-
Taking a second look at Zombies, apparently there's a zombie frenzy out there, but who says you can't look smokin' hot while y...
-
I wanted to show off an Artist that specifically captured the scariness of undead feens and Corlen Scope only found at Thepspproject has...
-
Love Karra's latest kit creation, certainly not ready for fall yet are we? Check out "Coronach" packed with gorgeous reds a...
-
Scrapkit by KillerKitty You can find her awesome PTU: Punkilicious Neon Kit at her store HERE Font Billy Argel Filters used: Xe...
-
Feeling the need for a cute Steampunk kit? Check out Irish Princess Designs latest creation, packed with 60 rad, vintage elements, and 10 ...
-
Available for download at Siggy Showdown Blog HERE or yu can grab the PSP version here
-
It's October time, guess what I love Halloween, let's kick off October with a Halloween tag. Oh and this week 1st of every month, ...
Labels
- © Barbara Jensen (1)
- © Tatjana Art (1)
- ©Alena Lazareva (1)
- ©Angela Newman (2)
- ©Anna (2)
- ©Camilla Drakenborg (1)
- ©Cris Delara (2)
- ©Cute Loot (1)
- ©ELIAS (6)
- ©gIO (1)
- ©Ismael Rac (4)
- ©Keith Garvey (8)
- ©Keith Selle (1)
- ©KiwiFireStorm (2)
- ©Pinuptoons (6)
- ©Renne (1)
- ©Verymany (2)
- ©Victoria Fox (1)
- ©Vinegar (1)
- ©Zindy (2)
- ©Zlata M (1)
- A Taggers Scrap (1)
- CDO (19)
- Clusters (10)
- ct (85)
- Designer Scraps (16)
- FB Timeline (1)
- freebie (9)
- FTU (16)
- Halloween (1)
- heart (1)
- Irish Princess Designs (10)
- Karra's Kreative Corner (2)
- Karra's Kreative Korner (7)
- Killer Kitty Scraps (3)
- Krissy's Scraps (3)
- Mask (3)
- Misfits (1)
- PFD (8)
- ptu (47)
- QP (1)
- Rissa Design's (1)
- Snaggies (7)
- Snags (6)
- Soxsational Scraps (4)
- tags (24)
- Tasha's Playground (2)
- template (2)
- THEPSPPROJECT (23)
- TPP (20)
- tutorial (58)
- Upyourart (2)
- UYA (8)
- Wicked Princess Scraps (19)
- wordart (1)


